I was super excited to guest post over at Bella's. I shared this quick tutorial on how I lengthened my girls shower curtain and wanted to share it with all of you too!
This is it before...
See the ugly tub...not going to work!
I already had black fabric left over from ions ago just collecting dust and found that it would match perfectly to be my addition. While the shower curtain was still hanging in place I measured how long the addition would need to be and added 2 inches. {1 inch for the seam on bottom and 1 to attach it to the curtain}
After seeing all the ruffly goodness that's been around lately, I knew that ruffles were in order for the bottom of this curtain. So, I started cutting 3 inch strips of fabric....lots of them since the curtain is so wide.
After I had all of these cut...
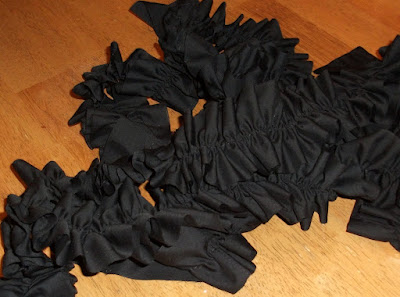
{I wound up using 8 strips that were I think 3 inches wide and 84 inches long} then I just fed them through my machine and it ruffled them for me. However, you could just hold on to the bottom thread while you ruffled the material yourself if your machine won't do it for you. This is what I had after that...
Now my ruffles just needed to be attached to the larger piece of fabric.
And just keeping adding your ruffles depending on how full you want your finished product to be.
After all the ruffling the only thing left to do is attach it to your curtain.
This is what I ended up with. I am really happy with how it turned out and had enough fabric that I also made two panels with this ruffled trim on bottom for their bathroom window. Trust me, if I can do this project anyone can do it. This is my second sewing project and I've found that I'm kinda addicted to sewing! Ha!
One thing I might do differently, is hem the sides of my fabric before I ruffled it. Luckily, mine isn't fraying badly at all so I got lucky on this one. Anyway, this was my project for the weekend! Happy Friday Ya'll!
Linked up to...


This looks awesome!
ReplyDelete