1. Grab a piece of cardstock and a ruler. Create your template.
2. Trace your shape onto your fabric and just start cutting. This would have gone lots faster if I would have had a rotary cutter, but we use what we have right! Although, after this project I want one...bad.
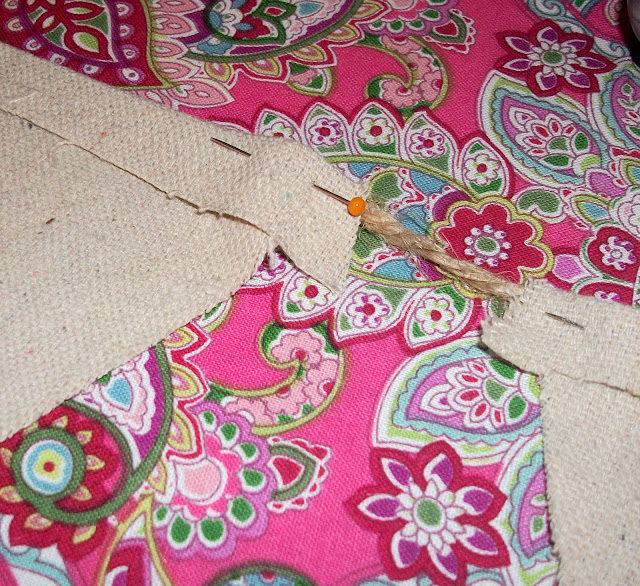
3. After I had enough cut, I ran the iron over my fabric. Take some twine and lay it on top of the fabric then fold down a small piece and ironed it in place. I made the fold big enough that I would have room to sew it down and allow the twine to move freely. I pinned the twine down just to hold all the "flags" in place until I sewed them in order to keep my spacing just right. I allowed almost an inch in between each flag.
I used my Silhouette machine to cut my letters and then laid them over my fabric to paint them. However, if you don't have one of these machines you could use print out your letters and just cut them out by hand.
6. Paint your letters on...
7. Let them dry...add some ribbons...and your done!


I pinned a banner like this too! I hope someone makes one for my wedding next year-or maybe I'll just make it myself :)
ReplyDeleteVery sweet and simple! What a great gift.
ReplyDeleteVery cute!! Such a sweet gift.
ReplyDelete