Showing posts with label Sewing. Show all posts

Still Slipcovering!

Thursday, January 19, 2012

For those of you who have been following the slipcover saga, here's an update:

It's slow going & still kicking my butt!

Here's some pictures to show just how inept I am at sewing.
   Our sofa cushions are sewn into the back.  I played and fiddled around with the drop cloth but couldn't get it how I liked and figured the best thing to do was to start taking the cushions off so I could just slipcover them individually.  I probably would not be this brave if the sofa was in good shape, this one was not.
 That wasn't so bad - here is how it looked once I got it off.
 Don't ask me why these cushion's were so darn hard to cover, but literally took me several hours!  Maybe it had something to do with Marley wanting to play instead of let me sew!
 So you can see I am making progress!  I sew a little, go paint a little, do a load of laundry, cook dinner, take new furniture makeovers to the Depot, spend some quality time with the family & fit my full time job in there somewhereI do love to have me some projects in the works but I need to finish these before I start anymore for sure!

Drop Cloth Drapes

Saturday, June 25, 2011

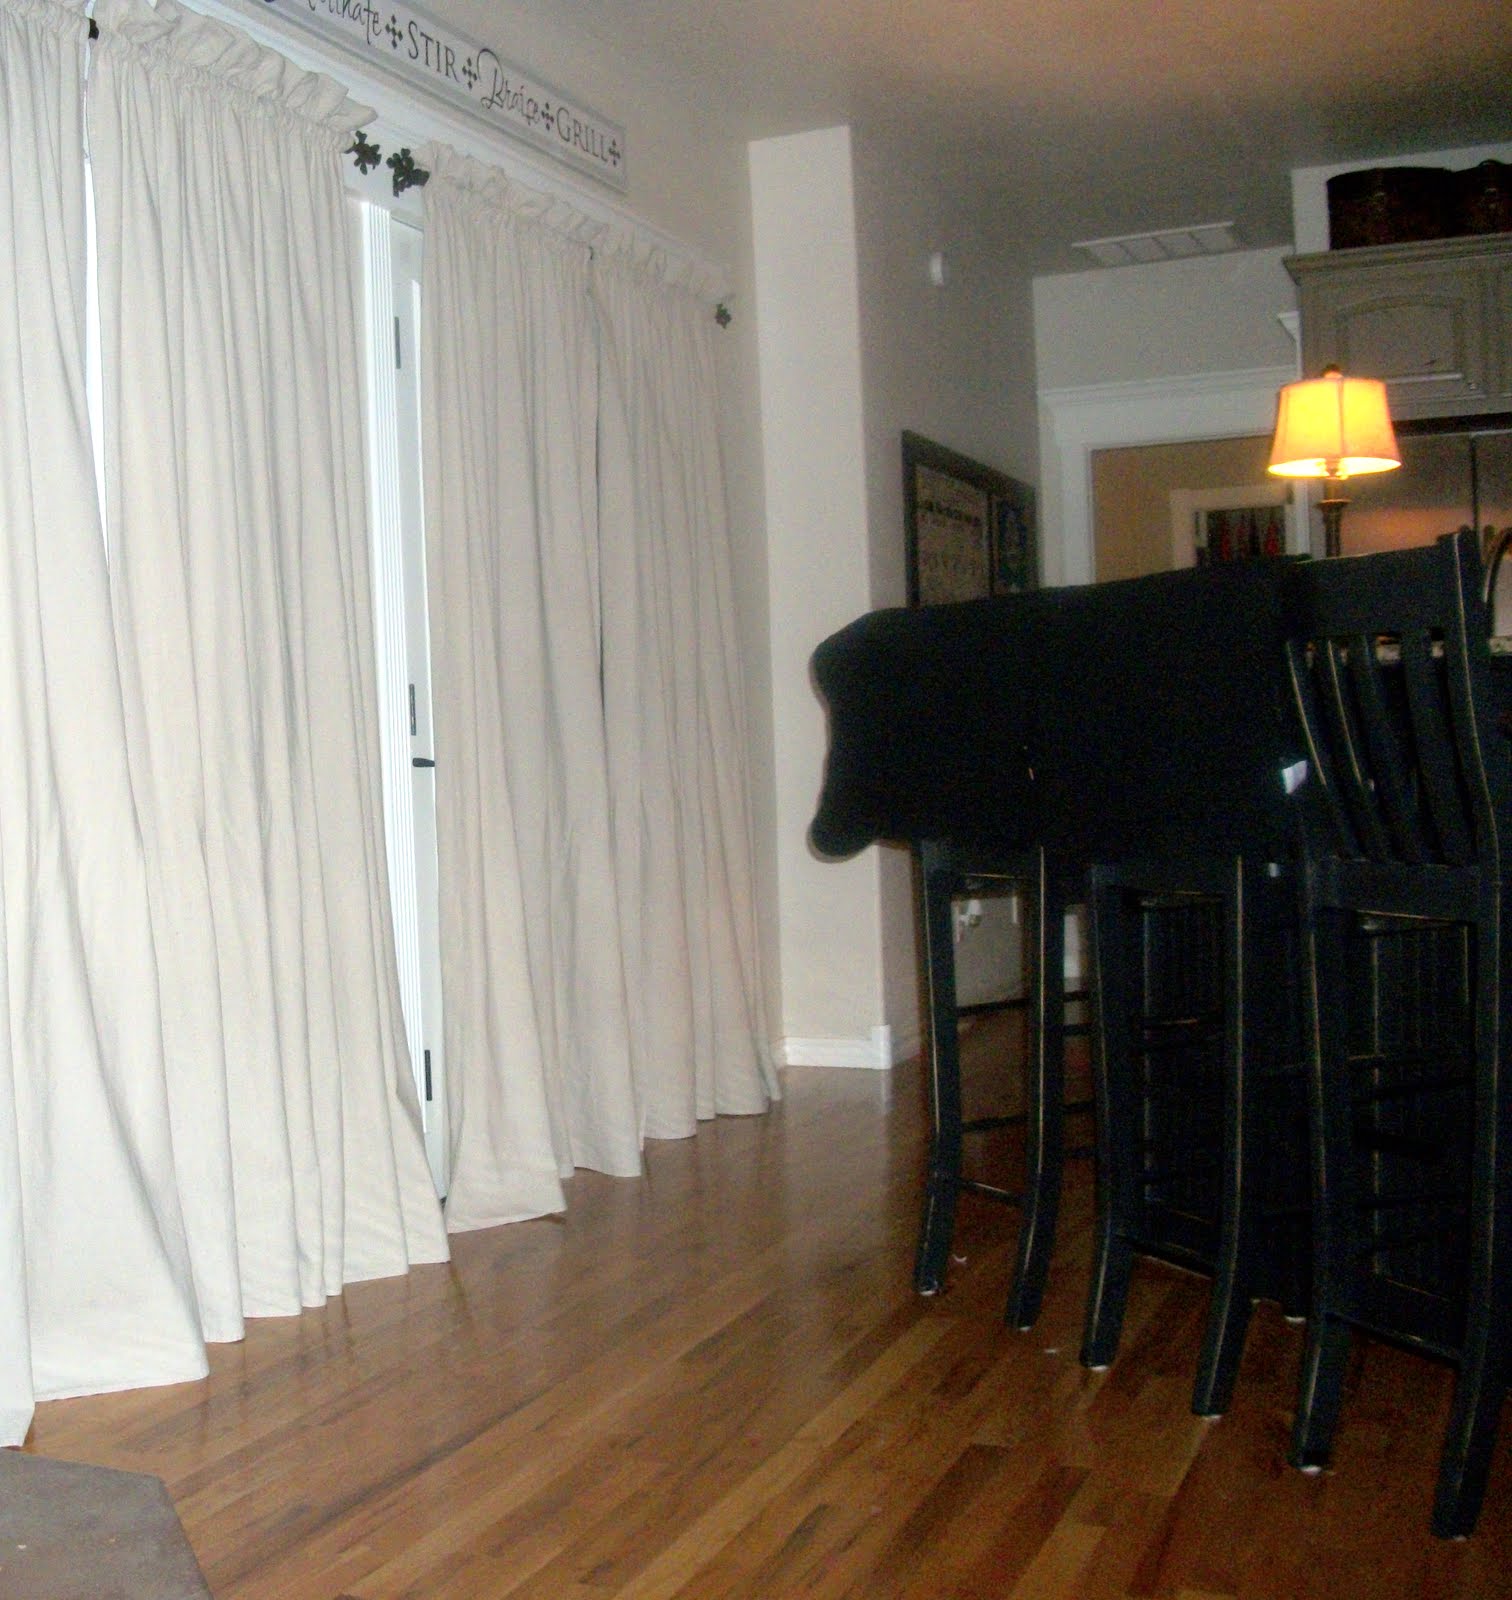
Over the weekend I decided I wanted something new over our windows that look out from the kitchen to our back porch and back yard.  This is what was there before.
 I liked these okay.  I was just tired of them and wanted a change.
I made these out of drop cloths.  I used one 6X9 per window.  
Sorry about the dark pictures. I've found that if I don't take the pictures when I finish then they just won't get taken and the post will never make it here.  I finished these late Saturday night so my lighting wasn't the greatest.
I close these at night for privacy and really like how full these look and how well they hang.  Now after looking at these photos and editing I wish I would've taken another pic from the same angle as the "before" picture.  But I didn't...c'est la vie.


Now these are up, I really like how well they hang vs. the others but...they seem kinda bland.  I was thinking about maybe stenciling a pattern on them, possibly in white? Why is it lately the projects I do for friends I wind up loving and the projects I do for the house...not so much?!  


Oh well, if I do wind up changing I'll letcha know.  For now, even though they were really easy, they were still pretty time consuming so they are there to stay. 

Easy Slip-Covered Pillow

Monday, June 6, 2011


This is such an easy, quick pillow to make.  Here's what you'll need.
  • Painters dropcloth or burlap.
  • Fabric paint
  • Stencil
  • Pillow Form {12x16}
  • Iron
  • Sewing Machine
Measurements for fabric:
  • Front {13x17}
  • Back {13x21}
After I had my fabric pieces cut I took the back piece and cut in half.   Take one side and using a ruler fold back 1 inch and iron, then fold down another inch and iron.  Do this to both pieces that you just cut that will make up your back piece.  Once you've ironed this down, sew these in place by running a quick seam down each fold.  These will create the "slip" on the back of the slipcover where you slide your pillow form in.

After your done with that lay out your top piece, then lay your two back pieces on top of these.  Pin these in place so that you can sew them together.  After you've sewn them together turn your slipcover inside out so that you can paint on your stencil. {tip} I always go over the slipcover with the iron just to make sure it lays really flat while I paint my stencil on.

You can buy stencils just about anywhere, you can make your own by printing out your design then cutting it out with an x-acto blade, or use your Cricut or a Silhouette.

After you have your stencil ready lay it over your pillow, make sure it is centered and pin it in place. It's probably best to use fabric paint, but I don't always have that handy, so I'll use whatever I have and paint on my design. Give your design plenty of time to dry. After it dries, Cover up the design with a thin piece of fabric and iron to make sure that the paint is set and won't bleed or fade away when it is washed.

Now just add your pillow form and admire your work!  I really like to use the Pottery Barn inserts, they wear really well.

And that's it!  So easy!  Sorry I don't have tons of great pictures of each step but I did this in a hurry.  Now, go make your own personalized pillow! XOXO

Linking up to....House of Hepworths
Blue Cricket Design,
Domestically Speaking,Somewhat Simple,The Shabby Chic Cottage,My Uncommon Slice of Suburbia  


Keeping It SimpleThe Girl Creative
BWS tips button

Shower Curtain Makeover

Monday, May 2, 2011

Don't you hate how standard shower curtains are soooo short!  I do because I like to hang them pretty high which leaves the bottom of the tub showing...not pretty.  

I was super excited to guest post over at Bella's.  I shared this quick tutorial on how I lengthened my girls shower curtain and wanted to share it with all of you too!


This is it before...
See the ugly tub...not going to work!


I already had black fabric left over from ions ago just collecting dust and found that it would match perfectly to be my addition.  While the shower curtain was still hanging in place I measured how long the addition would need to be and added 2 inches.  {1 inch for the seam on bottom and 1 to attach it to the curtain}  

After seeing all the ruffly goodness that's been around lately, I knew that ruffles were in order for the bottom of this curtain.  So, I started cutting 3 inch strips of fabric....lots of them since the curtain is so wide.

After I had all of these cut...
{I wound up using 8 strips that were I think 3 inches wide and 84 inches long} then I just fed them through my machine and it ruffled them for me.  However, you could just hold on to the bottom thread while you ruffled the material yourself if your machine won't do it for you.  This is what I had after that...
Now my ruffles just needed to be attached to the larger piece of fabric.
And just keeping adding your ruffles depending on how full you want your finished product to be.  
After all the ruffling the only thing left to do is attach it to your curtain.
 
 This is what I ended up with.  I am really happy with how it turned out and had enough fabric that I also made two panels with this ruffled trim on bottom for their bathroom window.  Trust me, if I can do this project anyone can do it.  This is my second sewing project and I've found that I'm kinda addicted to sewing!  Ha!  

One thing I might do differently, is hem the sides of my fabric before I ruffled it.  Luckily, mine isn't fraying badly at all so I got lucky on this one.  Anyway, this was my project for the weekend!  Happy Friday Ya'll!

Linked up to...
The Girl Creative


site design by designer blogs