Drop Cloth Drapes

Saturday, June 25, 2011

Over the weekend I decided I wanted something new over our windows that look out from the kitchen to our back porch and back yard.  This is what was there before.
 I liked these okay.  I was just tired of them and wanted a change.
I made these out of drop cloths.  I used one 6X9 per window.  
Sorry about the dark pictures. I've found that if I don't take the pictures when I finish then they just won't get taken and the post will never make it here.  I finished these late Saturday night so my lighting wasn't the greatest.
I close these at night for privacy and really like how full these look and how well they hang.  Now after looking at these photos and editing I wish I would've taken another pic from the same angle as the "before" picture.  But I didn't...c'est la vie.


Now these are up, I really like how well they hang vs. the others but...they seem kinda bland.  I was thinking about maybe stenciling a pattern on them, possibly in white? Why is it lately the projects I do for friends I wind up loving and the projects I do for the house...not so much?!  


Oh well, if I do wind up changing I'll letcha know.  For now, even though they were really easy, they were still pretty time consuming so they are there to stay. 

Solar Screens

Friday, June 17, 2011

You can definitely tell summertime is here, it's HOT.  Our air conditioner and all the ones around us are officially on over time.  We've seen the solar screens on other homes and wondered if they really worked and if they were expensive.  We have done some investigating and here is what we've been told...

  1. Solar screens applied to your home will lower your energy bills and will not obstruct your view.
  2. And they are expensive.
We figured if we could get our hands on the materials we could make these ourselves and pocket the cash that would save us.  We found solar screen materials at Lowe's and Home Depot.  Home Depot had a bigger selection so we purchased everything there. However, the two large windows on the porch were too wide for the solar fabric at Home Depot or Lowe's so we found a local dealer and he sold us just the fabric for those windows.  I like that guy.

Putting the screen together is pretty simple, just measure your window, cut the metal framing material and assemble your frame.
Next, lay out your solar fabric {over your frame}, then lay out your spline {holds the screen onto the frame}, we found it was easier to start putting down your spline in the middle of each side of the frame.  Just seemed to help keep the material from wrinkling.  
Finish all four sides, then trim off the remaining screen.  This is where it got a little tricky.  How to hang them over the existing window without drilling holes.  We wanted a semi-permanent way to hang these without damaging the window frame or brick work.  

Yes, we used industrial strength VELCRO.  We put strips on the corners, sides, top and bottom.  Crazy I know, but it was worth a shot.

And, it worked!!!  We get some really, really windy days here.  The same day we got the first big window done a storm moved through with wind gusts up to 55-60mph and the screens didn't budge.  Woohoo!  So today we got busy and finished up most of the windows.  We still have the two large windows under the porch to do tomorrow but I couldn't wait to share this with you guys.

Here are the windows before the screens.

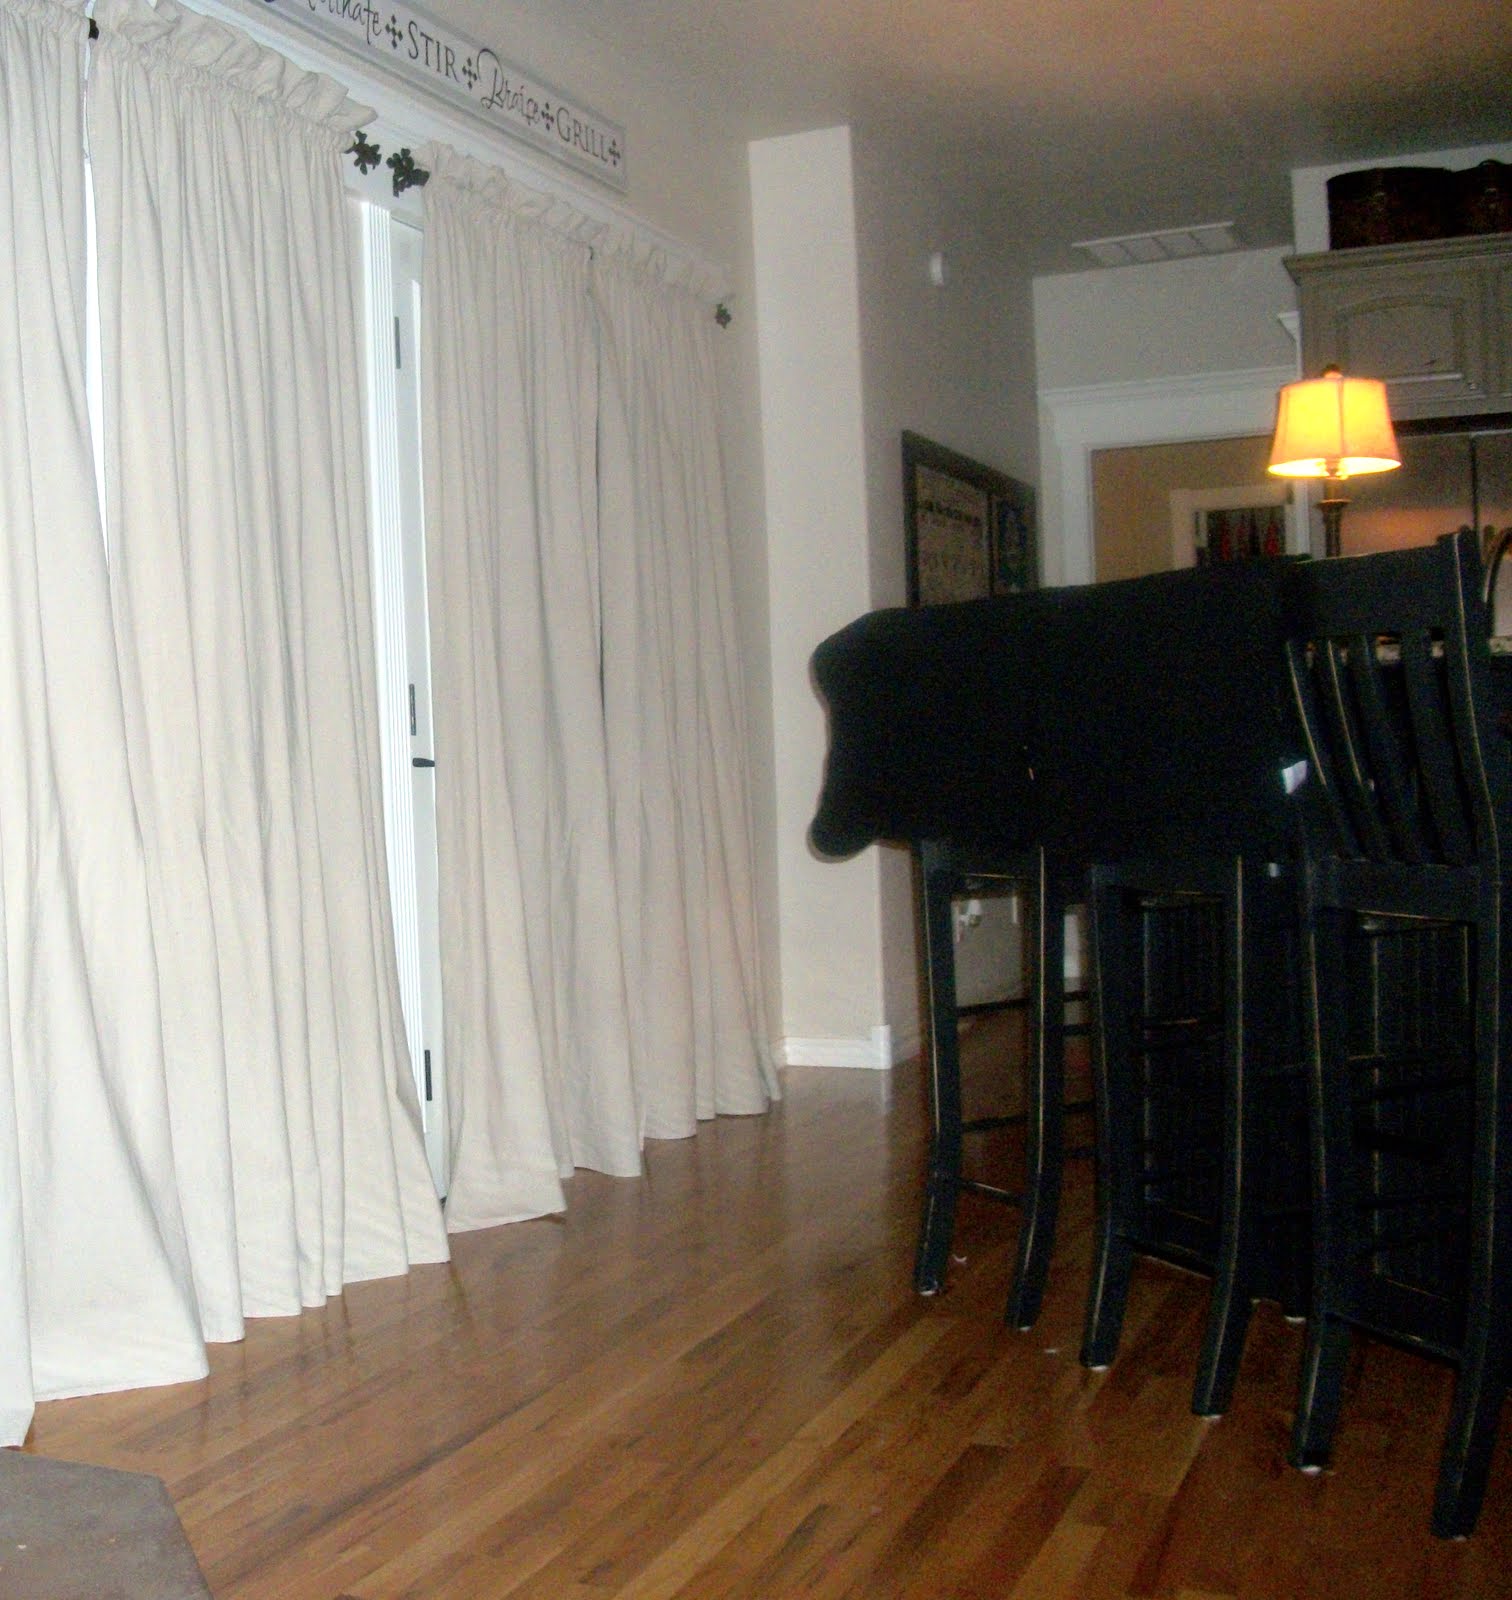
And here they are after...


There is a HUGE difference in the amount of sunlight that comes pouring into our windows now.  Even in the hottest part of the afternoon I can leave the blinds and curtains open to see outside and do not have the sun blinding me or the rays heating up the house. The solar screens are wonderful.  Love them.

PS .  On another note, after editing these photos I see how bad our front flower bed needs to be cut back as well as our crepe myrtles.  YIKES!

UPDATE:  (June 2013)  Here is another picture of the house with our screens still on with the original velcro!


Enter your email
to have THREE MANGO SEEDS posts sent to your inbox.

Enter your email address:

Delivered by FeedBurner


Garden Update

Thursday, June 16, 2011

Just thought I'd start off by showing you one of my Mother's Day gifts.  I have two of these sitting on either side of the front door.  I can't remember what they are called but I love them.  This side of the house gets the late afternoon sun {hot} but these beauties are thriving!
 In this bed we planted just a small amount of corn, carrots, green beans and tomatoes.  This is our first year to really try our hand at gardening other than the occasional tomato plant.  We are learning as we go and so far are happy that we decided to take the plunge.

This bed is on the north side of our house. I'm not sure why but some of the plants in the middle of the bed aren't looking as good as the ones towards the outside.  We have a shade tarp that we are going to put over this soon to see if that helps.  Hopefully, that'll do the trick and we won't lose any plants.
Our squash is growing like crazy!  We've already harvested quite a bit and have more ready again. 
We planted two types of lettuce; iceberg and romaine.  We have had lots of fresh lettuce already.  Plenty for us at home and the firefighters at my husband's station.
Our Weeping Willows, Photina's, peppers and strawberries are all doing really well in the bed along the fence.  
I keep losing strawberries.  I'm not sure if a rabbit or what is getting in them.  Guess I'm going to have to set aside some time to find a solution so whatever it is won't be able to take them anymore!  XOXO


For a friend

Monday, June 13, 2011

A really good friend of ours wanted this exact phrase painted on a sign so she could give it to her husband to hang behind his desk in his office.  They are a cute and adorable couple who have a great sense of humor. 

Easy Slip-Covered Pillow

Monday, June 6, 2011


This is such an easy, quick pillow to make.  Here's what you'll need.
  • Painters dropcloth or burlap.
  • Fabric paint
  • Stencil
  • Pillow Form {12x16}
  • Iron
  • Sewing Machine
Measurements for fabric:
  • Front {13x17}
  • Back {13x21}
After I had my fabric pieces cut I took the back piece and cut in half.   Take one side and using a ruler fold back 1 inch and iron, then fold down another inch and iron.  Do this to both pieces that you just cut that will make up your back piece.  Once you've ironed this down, sew these in place by running a quick seam down each fold.  These will create the "slip" on the back of the slipcover where you slide your pillow form in.

After your done with that lay out your top piece, then lay your two back pieces on top of these.  Pin these in place so that you can sew them together.  After you've sewn them together turn your slipcover inside out so that you can paint on your stencil. {tip} I always go over the slipcover with the iron just to make sure it lays really flat while I paint my stencil on.

You can buy stencils just about anywhere, you can make your own by printing out your design then cutting it out with an x-acto blade, or use your Cricut or a Silhouette.

After you have your stencil ready lay it over your pillow, make sure it is centered and pin it in place. It's probably best to use fabric paint, but I don't always have that handy, so I'll use whatever I have and paint on my design. Give your design plenty of time to dry. After it dries, Cover up the design with a thin piece of fabric and iron to make sure that the paint is set and won't bleed or fade away when it is washed.

Now just add your pillow form and admire your work!  I really like to use the Pottery Barn inserts, they wear really well.

And that's it!  So easy!  Sorry I don't have tons of great pictures of each step but I did this in a hurry.  Now, go make your own personalized pillow! XOXO

Linking up to....House of Hepworths
Blue Cricket Design,
Domestically Speaking,Somewhat Simple,The Shabby Chic Cottage,My Uncommon Slice of Suburbia  


Keeping It SimpleThe Girl Creative
BWS tips button
 
site design by designer blogs