


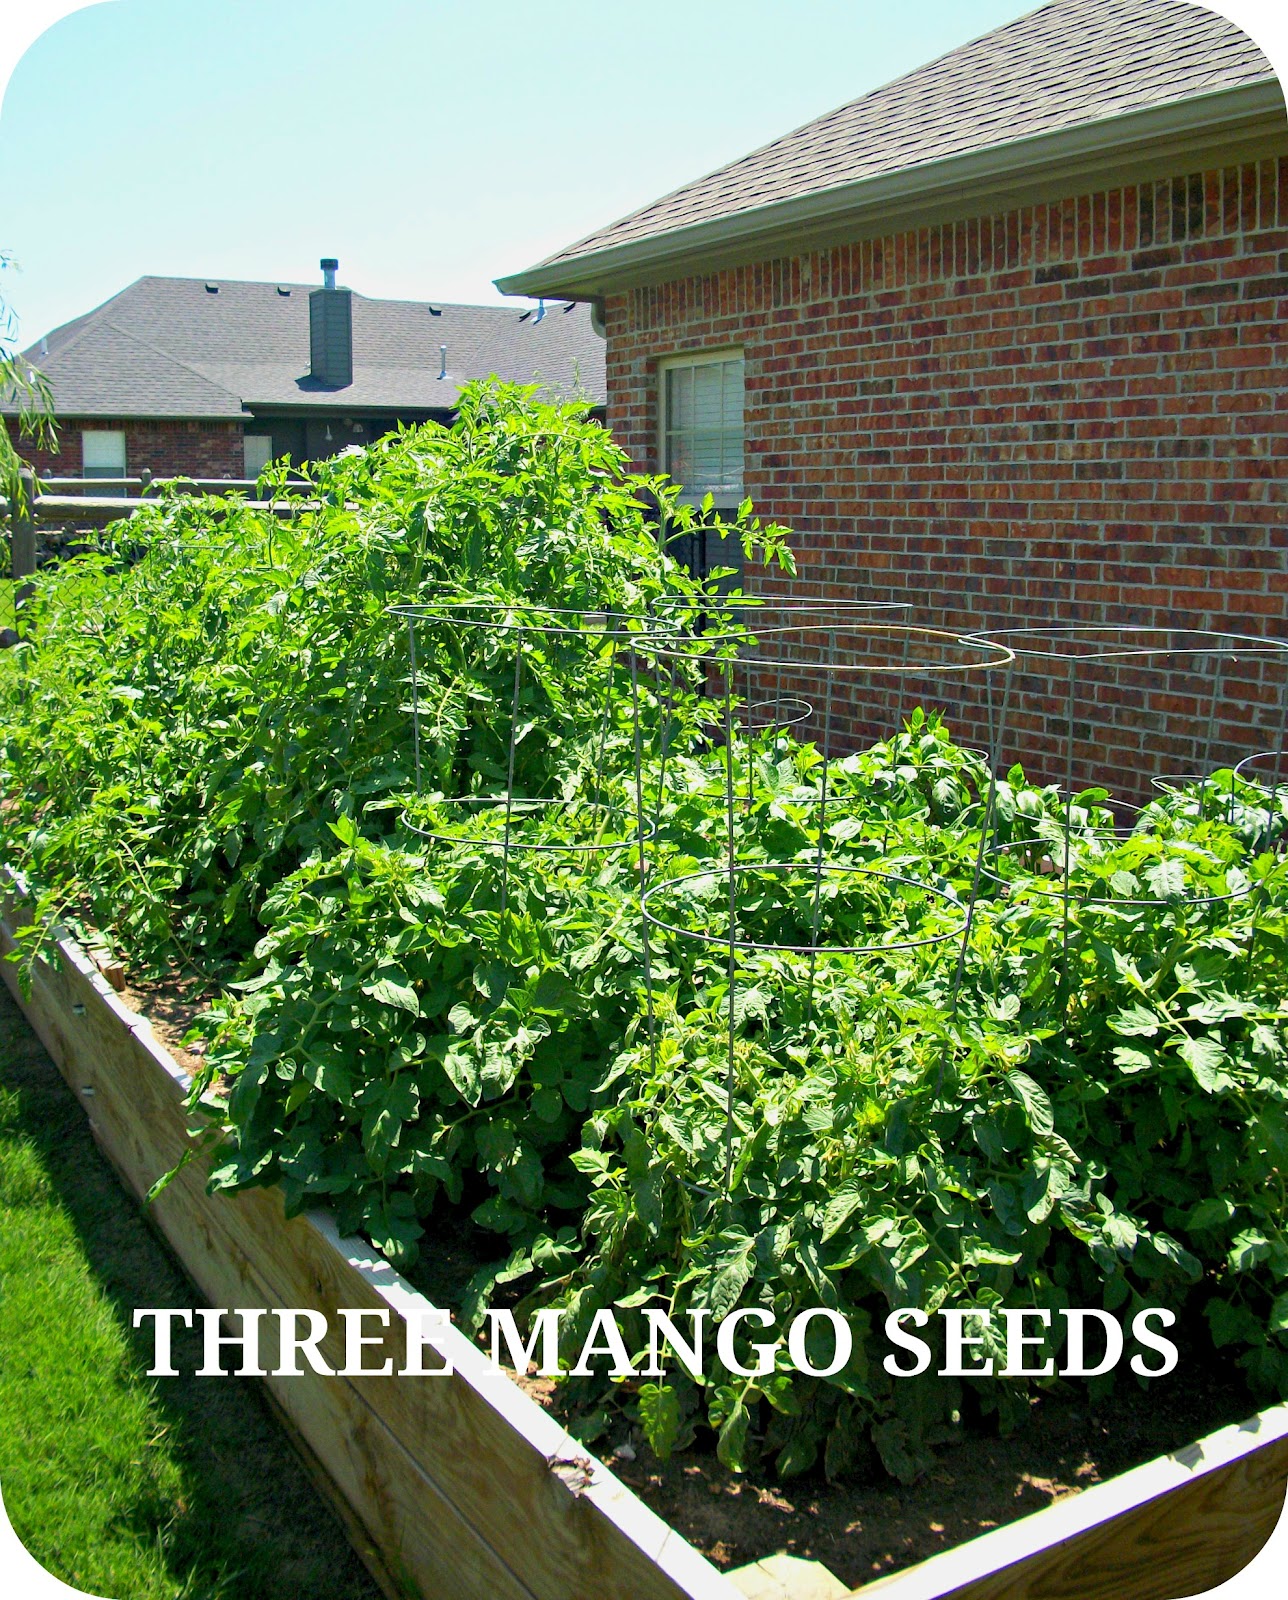
Our garden is really producing tomatoes this year...I means LOTS of tomatoes. We've been giving them away like crazy then we realized that we should learn to can.
Canning scared me. A lot. My mom doesn't can and we didn't have anyone to rely on except books and the internet. Turns out it's not that hard, just time consuming. I thought I'd share our experience with y'all. One newbie to another.
First gather all of your supplies.
2. Canning Jars - We preferred the small size but get whatever suits you.
3. Large Pan - I used a couple. {1 to boil water on stove to scald your tomatoes & 1 with ice cold water to plunge your tomatoes into after scalding. This makes the skin just fall off.}
4. Slotted Spoon - Dipping out your tomatoes after scalding.
5. Cooking Sheet - Put your cutting board into your cookie sheet and it will catch all the juices. Otherwise, you and your counter top will be a watery/seedy mess!
6. Paring Knife
7. Food Processor - You will only need this if you don't like chunks in your salsa. I don't. If you don't mind then just finely chop your tomatoes and forego this step.
Oops! Almost forgot...you'll need a salsa mix too. This is the one I used.
 |
| via |
Okay -- ready to get started?
**Before I started I hand washed my entire BALL canning kit, all my canning jars, lids & rings. Everything was brand new. Then I filled up my BALL canning pot half full of hot water, put it on the stove with a low burner and kept the water hot, not boiling and added all my jars. This is supposed to warm your jars to prepare them for the hot salsa so they do not crack.
In another small pan I added all the lids {not the rings} and let them sit in very hot water until I was ready for them.
Now onto the salsa making...
1. I washed all my tomatoes since I had just picked them from our garden. I can't remember how many pounds I started with but you'll need 6lbs after skinning & seeding them. You'd be surprised how much weight you lose after this process. So get extra! I used all ROMA for my salsa.
2. Bring a pot of water to boiling and drop in as many tomatoes as you can fit. I let them boil for about a minute then used a slotted spoon to place them into another pot full of ice cold water. You could also just use your sink for the ice cold water part, but I wanted them sitting right next to me on the island. I'm lazy - didn't want to walk back & forth. This process allows the skin to just slip off very easily.
 |
| via |
3. I just let them sit in the cold water while I cut them up. This is where you'll need to put your cutting board into your cooking sheet. First, I would cut the end off, slide off the skin and use a small spoon to dig out the core & most of the seeds. Don't worry if you don't get all the seeds, it's not a big deal. As I would finish each one I would toss them into a strainer in the sink so the rest of the juice could drain off. Repeated this until I finished all the tomatoes. Trust me, this part takes a little bit.
 |
| via |
4. Next I ran them through a food processor because I don't like chunks in my salsa...at all. NONE. But if you aren't picky then just skip the food processor part and dice them up however you like.
5. Now, the pan I used earlier for my tomato hot bath is the same one I used to cook my salsa. I dumped out the hot water, rinsed it out and dumped in all my pureed tomatoes, half a cup of vinegar and the bag of salsa mix. MAKE SURE to follow the directions on the bag of mix you buy. These are the ingredients that mine called for.
6. The directions on the MRS. WAGES SALSA MIX was to let it come to a boil, then reduce to a simmer for 10 minutes. I let mine simmer a little bit longer because I was cleaning up my HUGE mess.
Now I was ready to begin filling my jars...
7. Since my jars had been sitting in hot water all this time they were ready for the hot salsa mix. I used the tool from the canning kit to remove my jars to the counter. Used the funnel and a ladle to pour salsa into each jar.

8. I filled my jars to 1/2 inch from the top. The Ball Canning Kit gives you a tool to measure this. Make sure all the jar tops are clean before you use your magnetic tool to grab a lid from the hot water and place it on your jar. Next I added a ring only hand tightening it.
9. After I had all the jars ready, I put them back in the canning ring and submerged them down in the pot. I made sure all my jars were completely covered with boiling water. I let them process for 40 minutes. Again, this is what the salsa package instructed.
10. When the 40 minutes were up I began lifting them out {again with the tool provided} and sit them on the counter. Immediately the lids began popping {sealing}. Funny how excited I was to hear that sound! All my jars sealed within a few minutes of bringing them out of the boiling water. I've read from other sites to let them sit untouched on the counter over night which I did. If for some reason a jar doesn't seal then you must refrigerate it and use within 1 week. Since all mine sealed all I did was write the date on the top, put them in our pantry and will use them up within a year from the canning date.

Now, for the record I used lots of Google images in my post. I was nervous and totally unsure of what I was doing so taking pictures of each step was the last thing on my mind. Kinda like when your driving around in your car and lost so you turn down the radio to help you figure out what to do next because you can't be bothered with any additional noise. I couldn't be bothered with any additional steps like clicking pics. So I'm going to try and share the places where I found my pics or additional info that helped me tackle this salsa making venture of mine at the bottom of this post. I've tried to add everyone but some images I couldn't find the link so if you see your image here with no credit, then please email me and I'll add your link.
For those of you who are going to try your hand at making salsa for the first time...GOOD LUCK! You'll be so glad you did -- all the time spent is well worth it. We are going to try making strawberry jelly very soon and are planning on getting our kids involved. I think it's important to pass this knowledge on to them so hopefully someday they can share it with their own kids.
PS. If you aren't already then I'd love for you to follow along with us...


Canning Granny
Linking up to...
Made by You Mondays
Eye Heart: Anything Goes
Tuesday's Treatures - My Uncommon Slice of Suburbia
Your Talking Too Much
Linking up to...
Made by You Mondays
Eye Heart: Anything Goes
Tuesday's Treatures - My Uncommon Slice of Suburbia
Your Talking Too Much
Happy Canning!


This sounds great and is motivation for me to try to make salsa! Great job!
ReplyDeleteOh My! You left out the first step: Grow the tomatoes! I have major garden envy! I'm sure that is some tasty salsa! I had tons of grapes this year and thought I would try my hand at making jam. But when I got to your step one (gather the supplies) I backed out. I ended up giving all of my grapes to a neighbor who is making wine out of them. He promised me a bottle so I can't wait to taste it at one of our neighborhood porch parties. Maybe next year...
ReplyDeleteFran
I've never heard of Mrs. Wages Salsa mix, Clydia! Good to know! We may have to try it out sometime. We've been canning our own salsa with our own recipe for 25 years. Just tomatoes, celery, carrots, jalapenos, onions, and bell peppers --- all from our garden! We usually put up about 300 pints of it...only because we have so many friends and family members who beg for it each year. lol! Yep - and there is something so satisfying about hearing those lids "pop", isn't there..? :)
ReplyDeletexoxo laurie